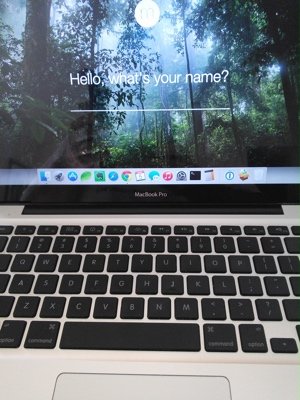
 This is a bit of a departure from web design, but I feel it could be helpful for some of our customers. I’ve had my Macbook Pro for over five years now, and to say it’s performance has been getting a little slow would be an understatement. Slow boot times and waiting seemingly forever for basic programs to start was slowing my business productivity and becoming increasingly frustrating. When I shared with a family member that I was in the process of searching for my next Mac, he told me that he had recently upgraded his hard drive to a SSD and doubled his memory, and that his old MacBook Pro was like a whole different computer. I followed his advice and gained such an extraordinary improvement myself that I felt I needed to share it. My goal in writing this article is not to give a complete “how-to” tutorial, but to let you know the possibilities for getting a little more life from your Macbook.
There are several web sites that will help you determine the correct memory and hard drive to purchase for your particular Mac. I used Crucial.com for my memory purchase and Macsales.com (Other World Computing) for the SSD hard drive. Crucial just happened to be having a good sale that saved me $20 on my purchase or I would have used OWC for both. You will need to know the model of your Mac or Macbook in order to use their hardware selection wizard. Clicking the Apple icon at the top left hand corner of your screen and selecting About this Mac will give you the model info. Mine is a MacBook Pro (13-inch, Mid 2009) for instance.
The keys to this upgrade are maximizing the memory and purchasing the largest SSD hard drive you can justify. The maximum memory my machine will take is 8GB of RAM so that is what I purchased (double what came with my machine). SSD drives, in case you aren’t familiar, use the same type of flash memory that your thumb drive uses. Therefore, there are no moving parts and access times are FAST. These drives have come down in price recently so now you can get a decent sized drive for not too much cash. The sweet spot for me was 120GB. I keep most of my larger files on an external drive and stream most of my music, so space isn’t that big of a problem for me. I’m interested in getting the most performance for the fewest dollars.
The installation is simple to do and there are videos online that step you through everything. I recommend doing a clean install of the operating system using a USB drive with the OSX software installer. It is important to get your data backed up so that you can transfer all of your files to your new hard drive following installation. Most of your programs will be easily downloaded from the Apple Store or other online resource.
My old, 2009 model Macbook Pro now boots in about 30 seconds as opposed to minutes and opens programs almost instantaneously. For less than $200 in parts, I know I have added another couple of years to the useful life of my daily work computer.
I would be happy to help you with more specific directions if you would like. Just use the Contact form to connect and get more information.